13 KiB
Title: Setting up a web server Date: 2019-08-14 Category: fundamentals Tags: server, router, introduction, lan, wan url: fundamentals-webserver-website.html save_as: fundamentals-webserver-website.html Summary: Installing a web server on your homebrew server Author: hbsc & friends Status: published slug: 004
[TOC]
##Introduction
Ever wanted to host your own website from the comfort of your house? Ever wondered how to achieve this? Search no further! This guide will help you with the installation and configuration of web server software, which is what allows a computer to start handling HTTP requests and serve web content in response.
Besides helping you with the installation, this guide will help you getting the right certificates, configuring your server and publishing your homebrew served website.
Some background knowledge
First off: what is the web, what is a web site and what is a web server?
The web is the single most known part of the internet. Because of that, it often happens that 'the web' and 'the internet' become conflated. Therefore, it often becomes a bit hazy to state what the difference is between the internet and the web.
Generally speaking 'the web' is only the part of the internet that we interact with with a web browser. More technically speaking, the web is the part of the internet that runs on port 80 and port 443 and that uses the HTTP and HTTPS protocols.
Websites are text documents that are formatted through HTML, CSS and JS. These three technologies tell the web browser what the structure of the page is, how it should be laid out and what kind of interactions are possible. Websites are transmitted using Hyper Text Transfer Protocol, which is why we usually type them like so http://homebrewserver.club.
A web server is a piece of software which listens for and responds to HTTP requests.
So in essence the web is a network of webservers which runs on top of the internet and through which websites can be retrieved.
##Requirements
- A spare computer.
- A basic understanding of the command line.
- An ssh server and client installed
- A registered domain name
- Have an available power socket next to your router.
- An ethernet cable to connect your server to the router.
This guide assumes Debian stable (Buster) running on the server.
Installing Apache
The Apache HTTP server is a free and open-source web server software and it has been around since 1995, being the most widely used server software in the world. Because of this, documentation is plentiful and the support community is very large, meaning that help is quite easy to get for any of your server issues.
For this reason, Apache has been selected for this guide.
There are, of course, other web server software available, the most popular of which being Nginx. Nginx, which is also free and open-source software, arrived on the scene circa 2004, and it also became a favourite for its resource efficiency.
If you want to geek out further about the differences between Apache and Nginx, this article will give you an overview.
So, without further ado, open a terminal window and let's get started:
First, make sure you update your packages list:
$ sudo apt update
Then, install the Apache HTTP server software:
$ sudo apt install apache2
If all went well, Apache should have been started immediately after installation. To double check this, run:
$ sudo systemctl status apache2
Example output:
● apache2.service - The Apache HTTP Server
   Loaded: loaded (/lib/systemd/system/apache2.service; enabled; vendor preset:
   Active: active (running) since Sat 2019-06-22 21:29:51 UTC; 6s ago
 Main PID: 18398 (apache2)
      CPU: 573ms
   CGroup: /system.slice/apache2.service
           ├─18398 /usr/sbin/apache2 -k start
           ├─18402 /usr/sbin/apache2 -k start
           ├─18403 /usr/sbin/apache2 -k start
           ├─18404 /usr/sbin/apache2 -k start
           ├─18405 /usr/sbin/apache2 -k start
           └─18406 /usr/sbin/apache2 -k start

Jun 22 21:29:50 supermuch systemd[1]: Starting The Apache HTTP Server...
Jun 22 21:29:51 supermuch systemd[1]: Started The Apache HTTP Server.
Configuration Time
You can find Apache's configuration files in the following location: /etc/apache2/sites-available.
The 000-default.conf file should look a little something like this:
ServerAdmin webmaster@localhost
<VirtualHost *:80>
        # The ServerName directive sets the request scheme, hostname and port that
        # the server uses to identify itself. This is used when creating
        # redirection URLs. In the context of virtual hosts, the ServerName
        # specifies what hostname must appear in the request's Host: header to
        # match this virtual host. For the default virtual host (this file) this
        # value is not decisive as it is used as a last resort host regardless.
        # However, you must set it for any further virtual host explicitly.
        # ServerName example.org

        ServerAdmin webmaster@localhost
        DocumentRoot /var/www/html

        # Available loglevels: trace8, ..., trace1, debug, info, notice, warn,
        # error, crit, alert, emerg.
        # It is also possible to configure the loglevel for particular
        # modules, e.g.
        #LogLevel info ssl:warn

        ErrorLog ${APACHE_LOG_DIR}/error.log
        CustomLog ${APACHE_LOG_DIR}/access.log combined

        # For most configuration files from conf-available/, which are
        # enabled or disabled at a global level, it is possible to
        # include a line for only one particular virtual host. For example the
        # following line enables the CGI configuration for this host only
        # after it has been globally disabled with "a2disconf".
        #Include conf-available/serve-cgi-bin.conf
</VirtualHost>
For ease of use, and in case you would like to have several websites/services running behind a single server, copy this file into another, easily identifiable one, for example, calling it something like "mydomain.conf".
$ sudo cp 000-default.conf mydomain.conf
Using your favourite text editor, uncomment the ServerName line and change it to reflect your domain name:
ServerAdmin webmaster@localhost
<VirtualHost *:80>
        # The ServerName directive sets the request scheme, hostname and port that
        # the server uses to identify itself. This is used when creating
        # redirection URLs. In the context of virtual hosts, the ServerName
        # specifies what hostname must appear in the request's Host: header to
        # match this virtual host. For the default virtual host (this file) this
        # value is not decisive as it is used as a last resort host regardless.
        # However, you must set it for any further virtual host explicitly.
        ServerName mydomain.org

        ServerAdmin webmaster@localhost
        DocumentRoot /var/www/html

        # Available loglevels: trace8, ..., trace1, debug, info, notice, warn,
        # error, crit, alert, emerg.
        # It is also possible to configure the loglevel for particular
        # modules, e.g.
        #LogLevel info ssl:warn

        ErrorLog ${APACHE_LOG_DIR}/mydomain.error.log
        CustomLog ${APACHE_LOG_DIR}/mydomain.access.log combined

        # For most configuration files from conf-available/, which are
        # enabled or disabled at a global level, it is possible to
        # include a line for only one particular virtual host. For example the
        # following line enables the CGI configuration for this host only
        # after it has been globally disabled with "a2disconf".
        #Include conf-available/serve-cgi-bin.conf
</VirtualHost>
Enable this configuration by running:
$ sudo a2ensite mydomain.conf
Restart Apache to load the new configuration:
$ sudo service apache2 restart
HTTPS
HTTPS, which stands for hypertext transfer protocol secure, is an extension of the HTTP protocol. As its name suggests, it adds a layer of security to the data exchanged between client and server. By adding an encryption layer to the exchanged packets, it seeks to avoid man-in-the-middle attacks, eavesdropping, etc. While HTTP uses port 80 by default, HTTPS uses port 443.
As part of its bigger goal to "encrypt the entire Internet", the Electronic Frontier Foundation developed Certbot, a free and open source tool for automating the server-side deployment of Let's Encrypt Certificates, thus enabling HTTPS.
Let's get down to it! Again, these instructions are specific to Debian stable (Buster), but detailed instructions for installation on other distributions can be found on Certbot's website
First, let's install Certbot:
$ sudo apt-get install certbot python-certbot-apache
Now, run Certbot to get the right certificates for your domain:
$ sudo certbot certonly -d myserver.org
After following the process, and if all went well, you should now see the following message:
- Congratulations! Your certificate and chain have been saved at:
   /etc/letsencrypt/live/mydomain.org/fullchain.pem
   Your key file has been saved at:
   /etc/letsencrypt/live/mydomain.org/privkey.pem
   Your cert will expire on 2019-09-24. To obtain a new or tweaked
   version of this certificate in the future, simply run certbot
   again. To non-interactively renew *all* of your certificates, run
   "certbot renew"
 - If you like Certbot, please consider supporting our work by:

   Donating to ISRG / Let's Encrypt:   https://letsencrypt.org/donate
   Donating to EFF:                    https://eff.org/donate-le
Now, it is time to edit your etc/apache2/sites-available/mydomain.conf file accordingly:
<VirtualHost *:80>
        ServerName mydomain.org

        ServerAdmin webmaster@localhost
        DocumentRoot /var/www/html

        ErrorLog ${APACHE_LOG_DIR}/mydomain.error.log
        CustomLog ${APACHE_LOG_DIR}/mydomain.access.log combined
</VirtualHost>

#NEW CONFIG STARTS HERE
<IfModule mod_ssl.c>
<VirtualHost *:443>
        ServerName mydomain.org

        ServerAdmin webmaster@localhost
        DocumentRoot /var/www/html

        ErrorLog ${APACHE_LOG_DIR}/mydomain.error.log
        CustomLog ${APACHE_LOG_DIR}/mydomain.access.log combined

	SSLEngine on
  #PATH TO YOUR CERTIFICATES (note: don't forget to replace mydomain.org with your actual domain name!)
	SSLCertificateFile /etc/letsencrypt/live/mydomain.org/fullchain.pem
	SSLCertificateKeyFile /etc/letsencrypt/live/mydomain.org/privkey.pem
</VirtualHost>
</IfModule>
In case you didn't notice, there is now an if statement that evaluates true in case a certain module is present. In this case, it evaluates to true if mod_ssl is present. Apache modules can be installed as following:
$ sudo a2enmod modulename
To verify which modules are already running on your server, type:
$ sudo apache2ctl -M
If the required ssl_module is not listed, run:
$ sudo a2enmod ssl
Certificate renewal
Your certificates expire after a period of time. However, the Certbot packages on your system should come with a cron job or a systemd timer that automatically renews them before they expire. This will be installed in one of the following locations:
-
/etc/crontab/
-
/etc/cron./
-
systemctl list-timers
Save your changes and exit the editor.
Time to restart Apache and load all of these changes!
index.html
At this point, when typing https://mydomain.org into your browser, you should be greeted with a page that looks a little something like this:
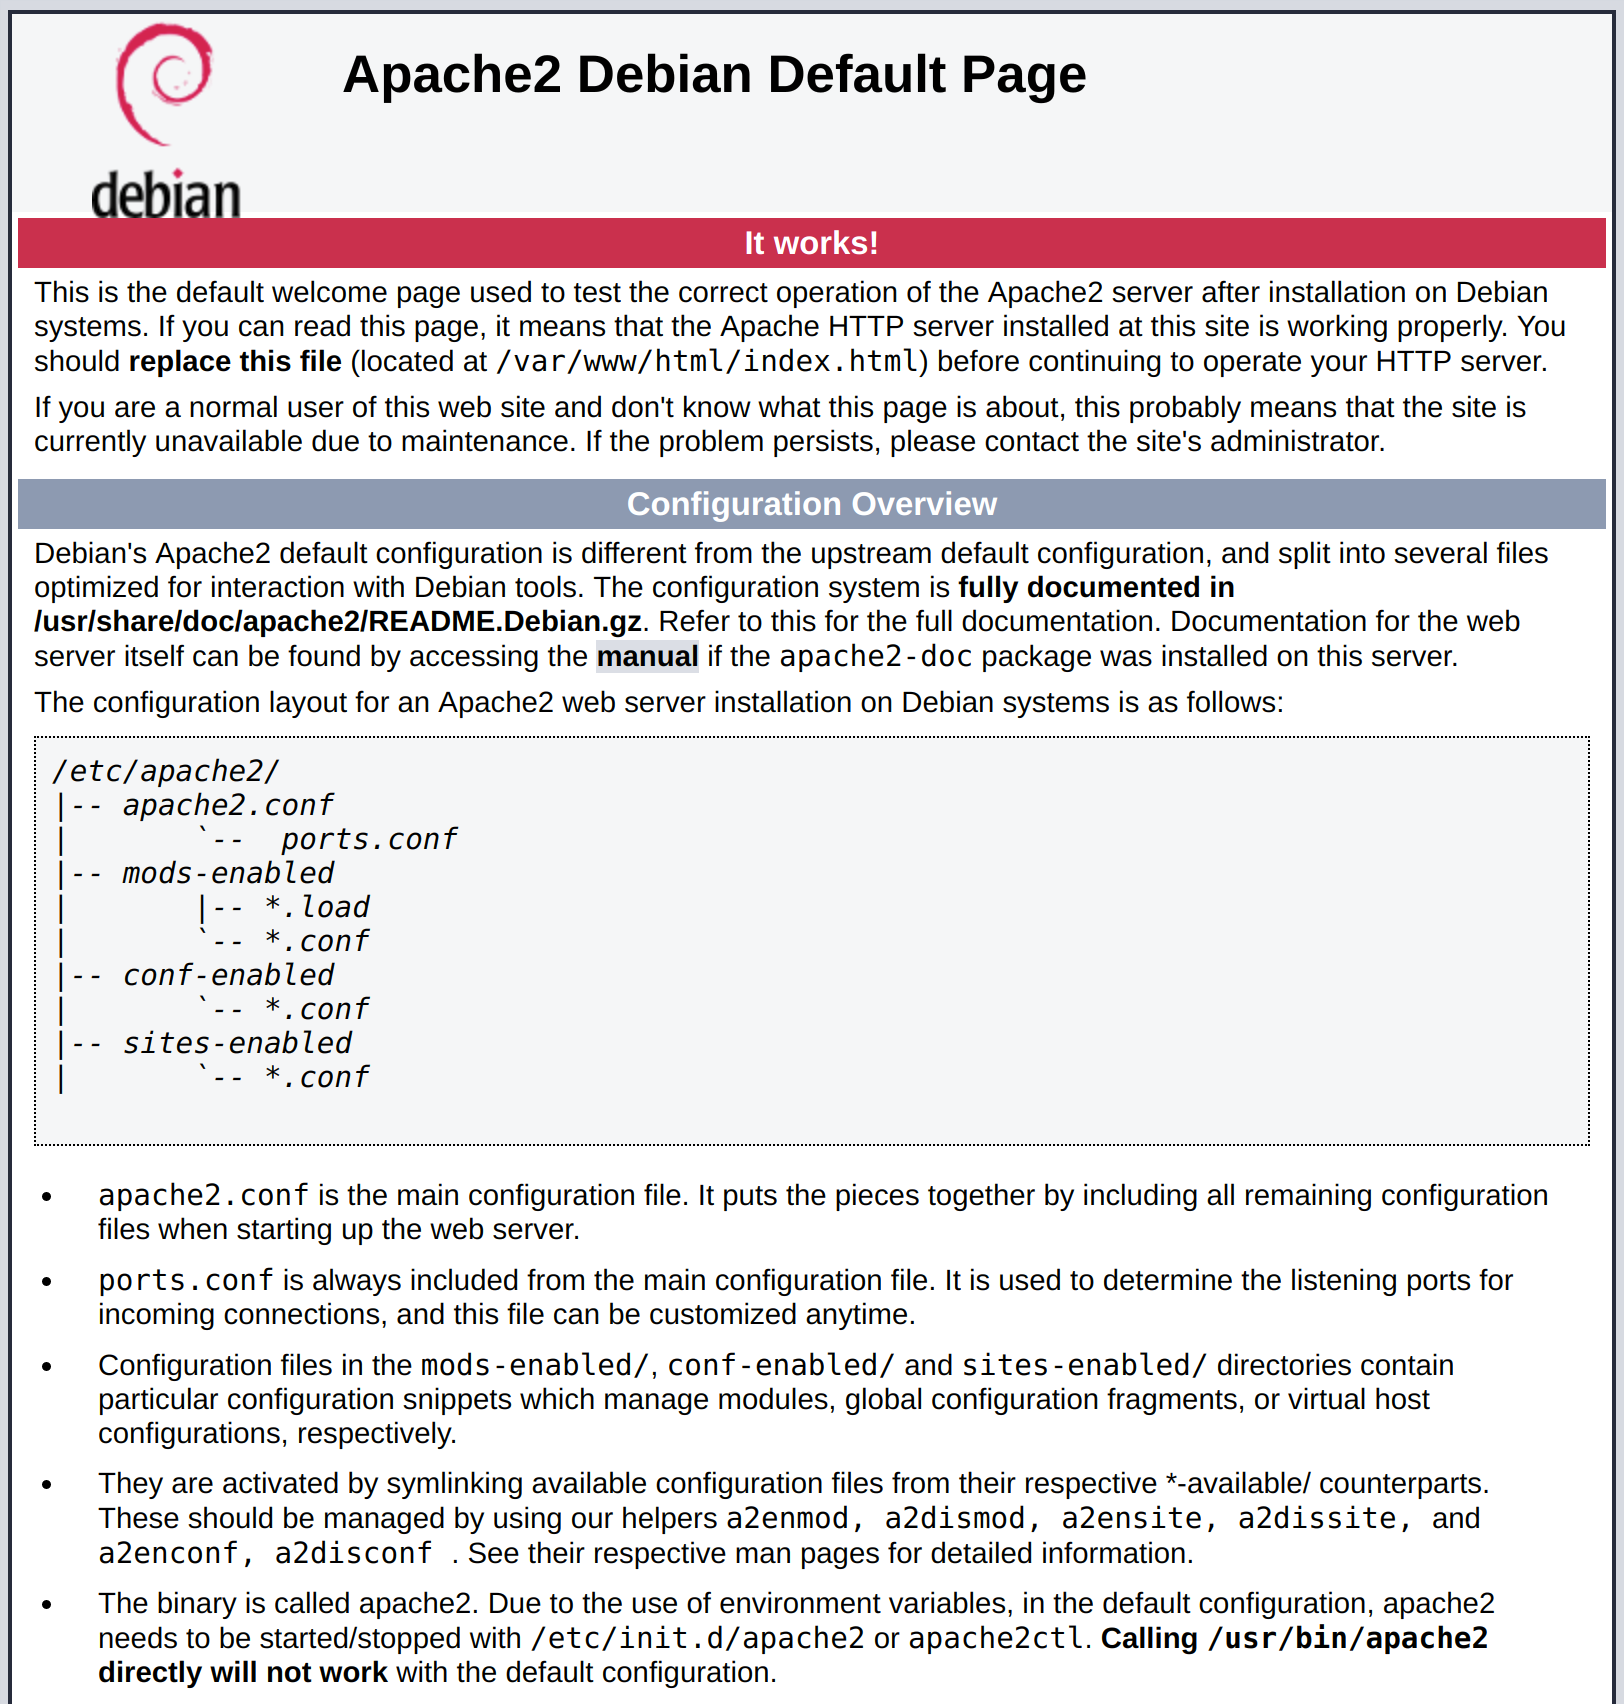
If you cd into your /var/www/html folder, you will find this default index.html. As recommended by this page itself, you should edit this file before continuing operations on your webserver.
Open it on your favourite text editor and let's get started on a bare-bones "Hello Homebrew World"! webpage.
<!doctype html>

<html lang="en">
<head>
  <meta charset="utf-8">
  <title>My first homebrewed webpage</title>
</head>

<body>
  <h1>Hello Homebrew World!</h1>
</body>
</html>
Open your browser again and savour the fruits of your hard work.
That was it! Now you are ready to have hours of endless fun sailing the vast sea of HTML, CSS, JavaScript, etc.